Wednesday 22 October 2008

Keyboard Shortcuts

The keyboard is often a sadly underused input method for graphics programs. mtPaint doesn't fall into the trap of being "mousebound" as it contains many keyboard shortcuts that can greatly increase productivity and the pleasure of painting.

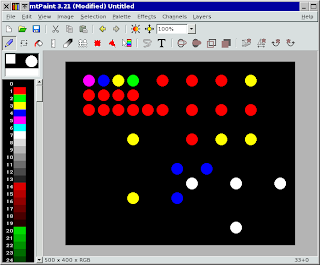
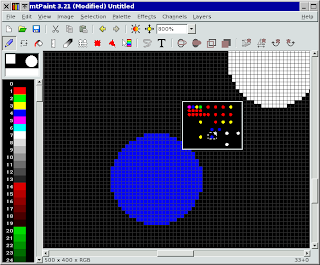
For example you can use the arrow keys to move the cursor by one pixel at a time. When you hold the shift key down as well you "nudge" the cursor by a pre-determined amount as set by the preferences window (press CTRL+P to set this value). By selecting a round brush (by pressing F3) I was then able to create this screenshot by moving the cursor with Shift+Arrows and then the Enter key to commit the brush action:


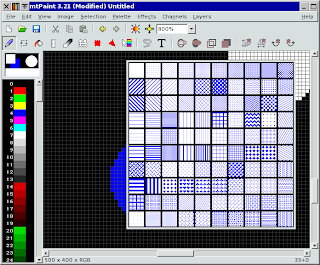
I was able to quickly change the brush colours by pressing the "[" and "]" keys which change the current colour A. Colour B can be change by using Shift and the same keys. Colour B is used if you ever want to paint using one of the pre-defined brush patterns, which can be chosen by pressing the F2 key:


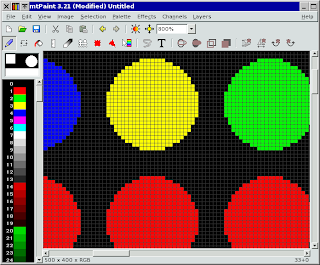
Another useful set of keys regard the zoom feature. If you press the "6" key you will immediately be zoomed in to 800% like this:


Other number keys zoom to different percentages, with 4 returning you to 100%. The "+" or "-" keys zoom up or down by one level. You can then quickly navigate around using the pan window by pressing the "End" key, and then use the arrow keys to move the main view:


There are many other useful keyboard shortcuts. Some are listed alongside the menu options, and the others are listed in the mtPaint handbook in section A.1.

Tuesday 21 October 2008

Brush Spacing In Non-Continuous Mode

As explained in section 3.5.1 of the mtPaint handbook, it is possible to paint on the canvas in continuous or non-continuous mode so that brush points are either joined together or spaced apart. Normally continuous mode is preferable for sketching and painting, but non-continuous mode allows some interesting effects to be achieved.

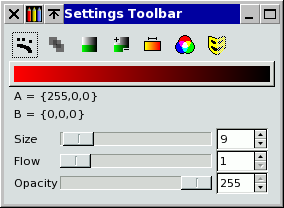
For this example I shall be painting with non-continuous mode and with opacity mode switched off, so I press F7 to display the settings toolbar and then adjust as follows:


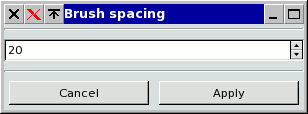
I then right click on the continuous mode icon to set the brush spacing:


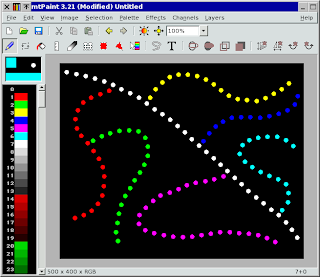
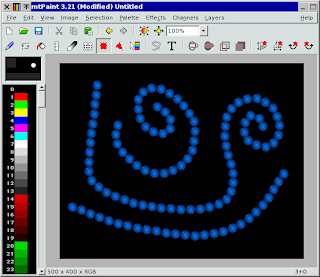
Now I can select a brush and colour of my choice and paint on the canvas with equal spaces between each of the brush marks on the canvas:


Brush spacing also works well for pasting so I created this by dragging and pasting a piece of clip art:


The clip art I used was this:

To get this clip art as a paste I needed to start another instance of mtPaint, load the blue orb, press Ctrl+A to select the image, and then Ctrl+F9 to save this as image 9 in the multiple image clipboard. I can then load this clipboard into the first instance of mtPaint by pressing Shift+F9 and start pasting with it.

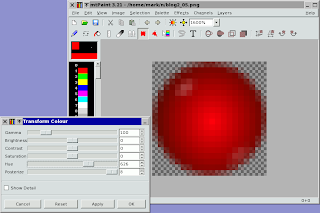
While you have 2 instances of mtPaint running, there is another trick you can try. If you change the hue of the blue orb (press the "Insert" key to display the transform image dialog) you can change the orb's colour:


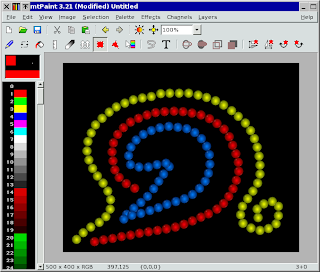
By using the multiple image clipboard you can then easily switch between colours for pasting with say Shift+F7, Shift+F8 and Shift+F9:


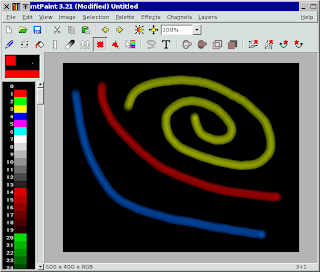
Another trick to try is where you set opacity to 40 and then brush spacing to 1 which creates these effects:

Monday 20 October 2008

Colour Protection Mask

When I first created mtPaint in 2004, one of the most important features I wanted was a colour protection mask (as described in section 3.3.4 of the mtPaint handbook). This feature allows the artist to protect certain areas of the canvas according to their colour so that they don't get painted over.

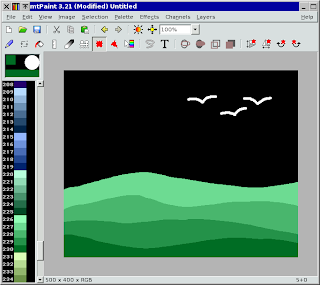
To demonstrate the value of this feature, here is a simple example. Firstly I create a new RGB image in mtPaint with a size of 500x400 pixels. I then create a hill effect using a round brush with colours 227-230 from the default palette, and then a few birdlike creatures in the sky, as per this screenshot:

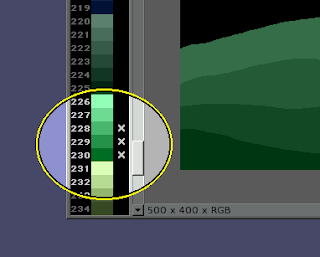
At this point you can quickly test the protection mask by clicking on the area to the right of colours 228-230 in the palette, which should bring up the crosses to show that these colours are now protected:

To test this protection we can scribble a new colour across the canvas:
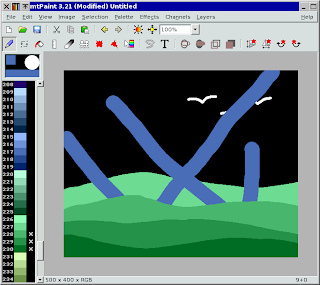

As we can see the 3 colours in the hills have been protected. However the black background, the white birds the the rearmost green shade have not been protected. Before we colour the sky, we must therefore also protect colours 227 and 7 in the palette.

The simplest way to create a sky in mtPaint is to use the gradient tool. Firstly you select the 2 colours you wish to use at either end of the gradient so left click on colour 4 (blue) and right click on colour 7 (white). Now you must place the gradient start and end points so choose the gradient placement tool from the toolbar. Lastly you left click near the top of the canvas and then left click further down which should result in this:
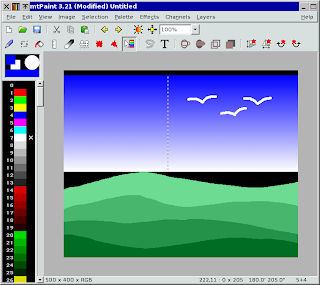

Notice how this preview still respects the colour protection mask as the birds have not been hidden in the same way as the unprotected black canvas. The next stage is to configure the gradient so that there are no black bands above and below the start/end points. To do this right click on the gradient placement icon on the toolbar which should bring this dialog up:
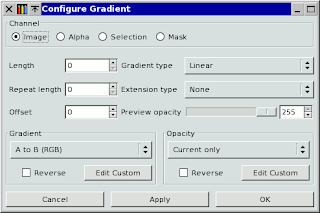

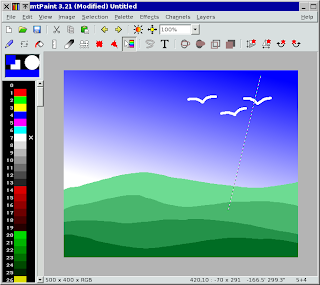
You should then change "Extension type" to "Level" which extends the colours beyond the end points. If you click OK you should then see this new gradient in action. At this point the gradient has not been committed to the canvas so you can move the endpoints to suit your artistic whim. To do this simply click near an endpoint, move the mouse to the new point and then click again to fix the new position:

At this point I am now happy with the results so I want to commit this to the canvas. Firstly I must switch the painting mode to use the gradient, so I press F7 on the keyboard to bring up the settings toolbar:
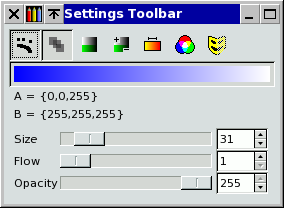

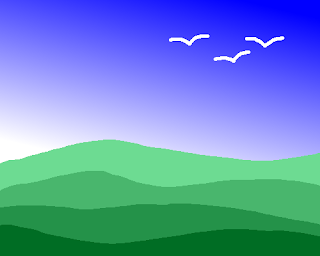
I must then click the gradient bar so that gradient mode is switched on. The easiest way to paint this gradient over the whole of the canvas is to paint a rectangle over the whole picture. To do this press Ctrl+A, and then click the "Fill Selection" icon on the toolbar which should then commit the gradient paint to the canvas. If you intend doing any more painting with other tools, remember to turn the gradient mode off so you can paint as normal. Here is the final picture: